
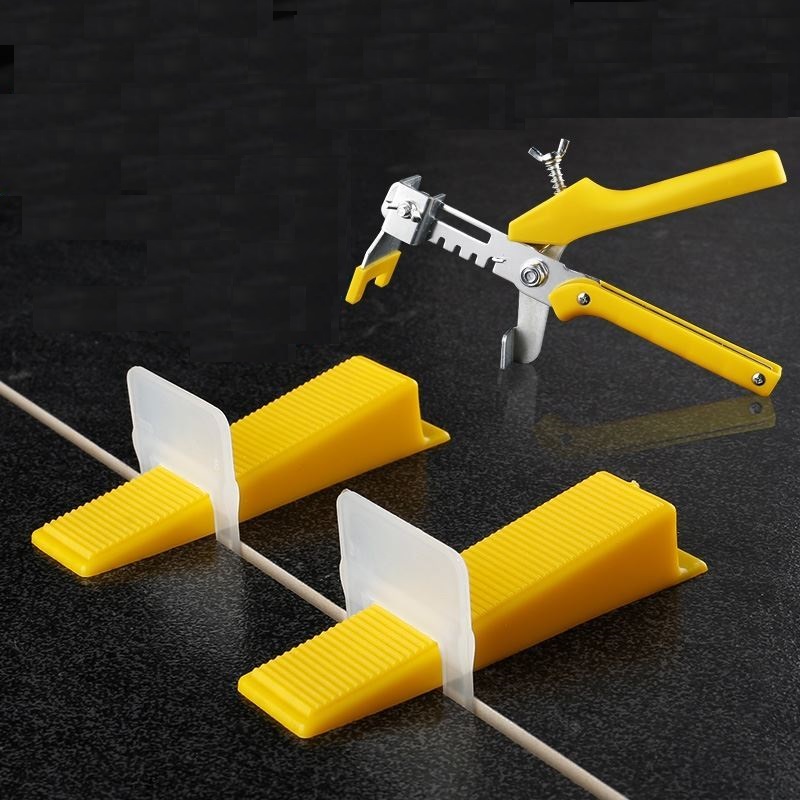
A tile leveling system is a tool used during tile installation to ensure a flat, level, and vertical surface. It typically consists of clamps, wedges, and screws. The clamps hold the tiles in place along the same horizontal line, while the wedges are inserted under the tile edges to maintain consistent spacing and prevent unevenness. The screws are then adjusted to fine-tune the height of the wedges, ensuring the tiles are level with each other.
Here's how to use a tile leveling system:
- Start by placing the first tile at the starting point of the installation area.
- Position clamps around the perimeter of the tile, ensuring they are at each corner.
- Insert wedges beneath the tile edges, aligning them with the adjacent tile's edge.
- Adjust the height of the wedges using the screws until the surface of the adjacent tile is level with the first tile.
- Repeat the process for each tile, ensuring that each tile's surface is level with its neighbors.
- Once all tiles are installed, allow the adhesive to dry and set properly.
- Finally, remove the wedges and clamps from the tile joints and clean the installation area to complete the tiling process.
By using a tile leveling system, you can improve efficiency and accuracy during tile installation, ensuring a visually pleasing and professional finish.